This action will force synchronization from Ruby54/yuntai2022, which will overwrite any changes that you have made since you forked the repository, and can not be recovered!!!
Synchronous operation will process in the background and will refresh the page when finishing processing. Please be patient.
服务由
 悬镜安全
提供技术支持

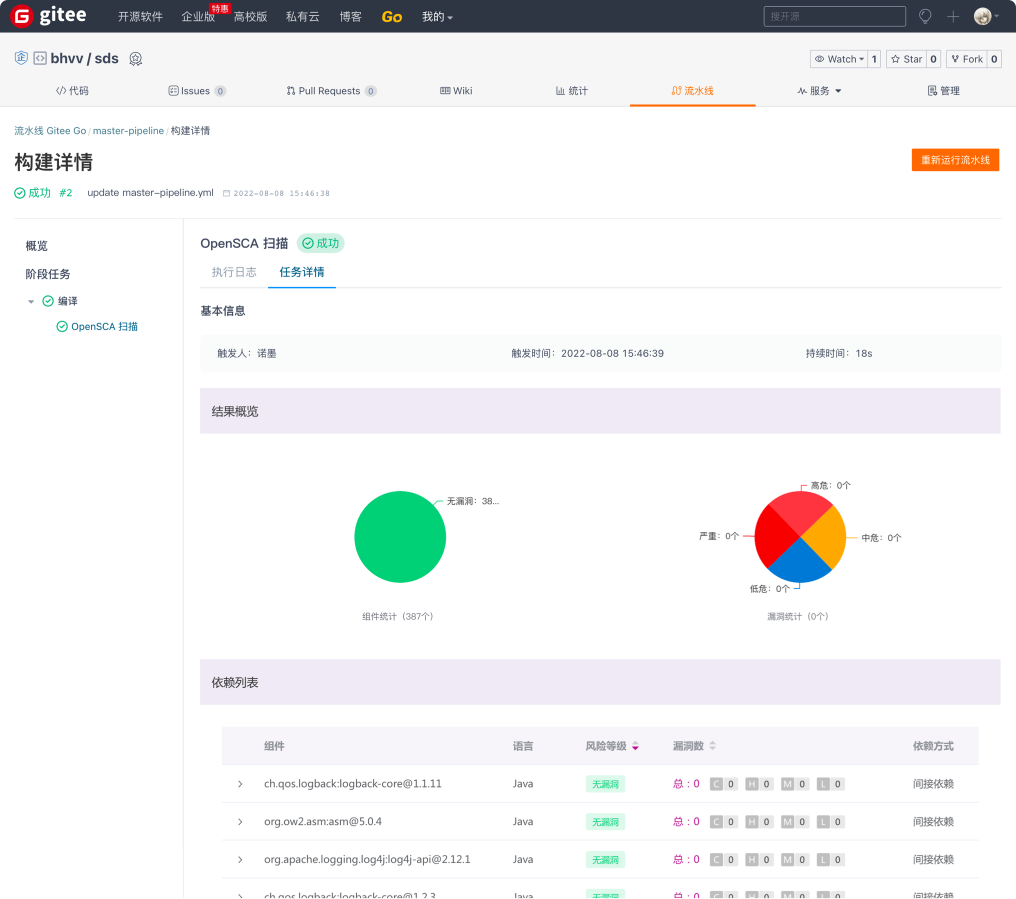
支持Java、JavaScript、PHP等多种主流编程语言的软件成分分析
云平台实时的组件库、漏洞库、许可证库、特征库等海量知识库支撑

支持主流许可证的检出
分析开源许可证的合规性及兼容性风险

组件的直接依赖及间接依赖解析
组件安全漏洞分析,快速定位漏洞影响范围并及时修复
可视化SBOM(软件物料清单),助力快速梳理内部软件资产

拥有企业级SCA核心检测引擎及分析引擎
基于海量知识库,多源SCA开源应用安全缺陷检测等算法,对特征文件进行精准识别,提高组件的检出率

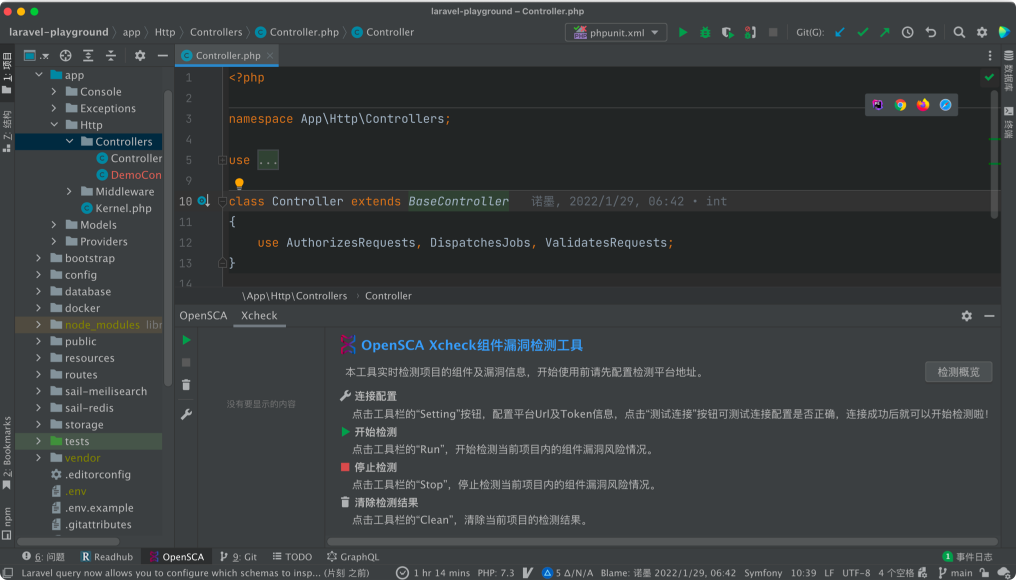
以 IntelliJ IDEA 为例:在 IDE 中依次点击 “File -> Settings -> Plugins -> Marketplace”,在搜索框中输入 “OpenSCA Xcheck”,点击 “Install”,安装成功后重启 IntelliJ IDEA。
以 IntelliJ IDEA为例:将下载下来的插件安装包拖入适配的IDE中即可。
访问 https://gitee.com/XmirrorSecurity/OpenSCA-intellij-plugin 下载 OpenSCA-intellij-plugin 源码。
使用 IntelliJ IDEA 打开,配置运行环境:JDK11,待 Gradle 导入依赖和插件。执行 IntelliJ 插件的 buildPlugin 任务(Gradle -> Tasks -> Intellij -> buildPlugin),构建的安装包存在于当前项目下 build/distributions 目录下,将此目录下的安装包拖入当前 IDE 中即可。

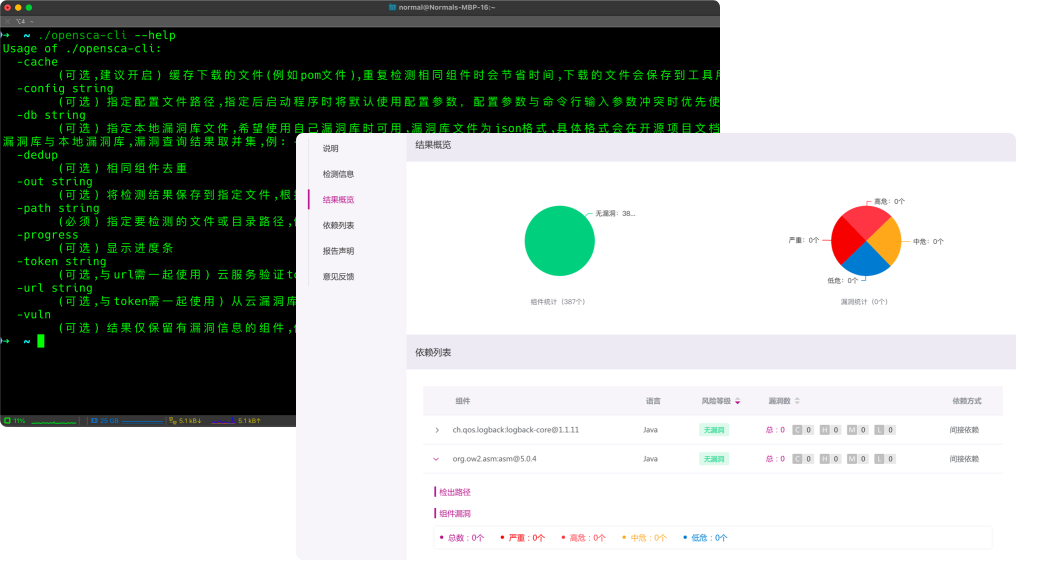
访问 https://gitee.com/XmirrorSecurity/OpenSCA-cli ,通过发行版(Release)下载对应系统架构最新的 OpenSCA-Cli 工具。
仅检测组件信息: opensca-cli -path ${project_path}
输出 HTML 报告: opensca-cli -path ${project_path} -out report.html
连接悬镜云平台进行组件信息检测: opensca-cli -url ${url} -token ${token} -path ${project_path}
或使用本地漏洞库: opensca-cli -db db.json -path ${project_path}
